
A quick review of the landscape!
When I was at school (at some time in the far and distant past), no teacher could continue to teach me from a distance. I was a good student, so my file was always in order, but I can’t say I really had a clear sense of the whole course I was studying. All my notes were paper based.
I am increasingly a teacher who continues to teach my students when they are out of school. I organise them and show them where what they are learning fits into a course plan. I teach using a range of media. All this is possible because of the many digital platforms out there.
 If you have students with iPads you can use iTunesU to build courses and share materials. It is true to say that it has amazing features, allowing you to structure a course, invite students, load up all kinds of material, see what your students have accessed and use it as a markbook. However, it is limited to users of iPads and therefore can’t be a top recommendation.
 Microsoft have developed Class Notebook as part of their Office software. This has many of the same features as iTunesU and a collaboration space. After you have set it up it runs through OneNote. The advantage is that it is available on any device. The disadvantage is that you (or your school) has to have a Microsoft Office Subscription. So again, a good tool, but it can’t be my focus here.
I am going to focus upon using Google Drive with students. For this you do have to be over 14 to get a Google account. However, after that hurdle, it is free and available on any device.
Organising and promoting your students’ learning using Google Drive
Once you have a Google account you can use Drive from anywhere. It is a place for shared files and documents. My older students have a folder called ‘History 2016-2018’ (they are studying a two year exam course). Within that folder are folders for each unit of the exam course. Within these there are then folders for each topic. It’s up to you how many folders you create and how you structure them. You simply share the first (top) folder with your students’ gmail addresses and they can access any material in that folder.
In each of the topic folders I put all the learning materials they need, such as picture sources, worksheets, reading material, essay plans and weblinks. Loading files is simple. You just click on ‘New’ and ‘File upload’. You can also upload complete folders of material. This way I can make sure they are organised and can clearly see how each piece of work fits into the whole course.
A lot of the material I put up is in the form of PDFs, Powerpoints, Jpegs, WordDocs and the like. That is, material I am not expecting students to collaborate on. They can download these documents and work on them on- or offline. It is especially useful if a student has missed class to be able to send them to the right folder to get the lesson materials.
Student work and collaboration
I can also ask students to access a document or link that I have loaded, to work with it and share their work with me. Google Drive allows me to see who has been active, so I know before students arrive in class who has, and has not, done the work I asked for.
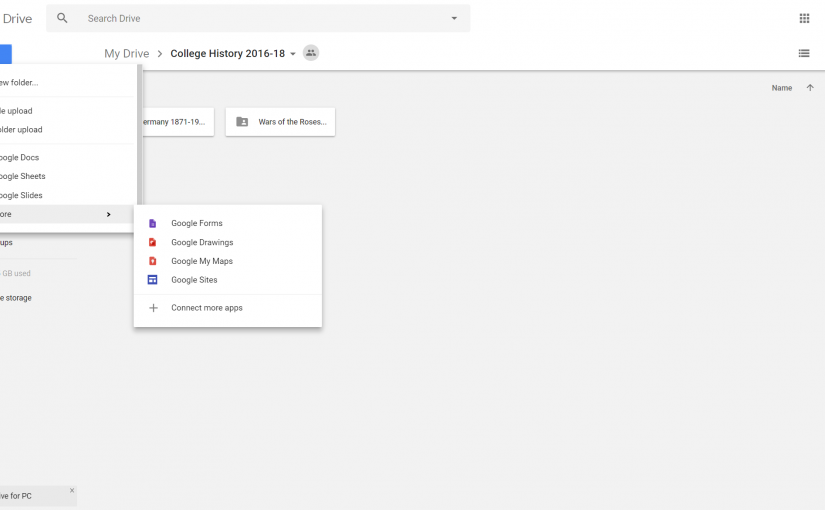
I also create new Docs (like Word), Slides (like Powerpoint), Forms (like Excel), Forms (reviewed elsewhere on this blog), Sites, Drawings and My Maps. All of these allow group collaboration. This can be done in class, or as home work. For example, I might have a trial exam question in Docs and ask students to collaborate to create an answer. Or I might create a Slides of pictures and ask them to collaborate to re-arrange them to create a gallery space with captions to inform the viewer and make an interpretation from the collection. All of these collaboration efforts are then available for students to download and use in their future work and for exam revision.

There are ways that you can make sure everyone is taking part. For example, I ask students to adopt a colour font at the start of the year. That way, I can see whose words are in the Docs etc. When you work online at the same time, everyone’s name pops up. We still enjoy it and think it’s a bit like something out of a Harry Potter book! It’s fun and collaborating together in class promotes discussion and debate.
This really is a very simple adaption to make to your planning. Students love it and they are gaining skills with the sort of digital tools and online organisation valued by employers. Senior managers in school like it too, as it is very easy to show parents how supported students are in their work.