
This is a digital tool from Russell Tarr’s popular www.classtools.net site. Your students create a virtual 3D gallery. To do this they need to act as the curator of their own exhibition. Curation requires them to develop criteria to decide what to select to put into their exhibition. They then create the gallery and justify their decisions to you. Let’s look at a practical example.

Historical thinking includes understanding that what is historically significant to one person, or group of people, may be different from what is historically significant to another person, or group. You can use 3D-Gallery to help your students understand this concept. We would suggest that you use the 3D-Gallery after your students have studied a particular topic. You can find it here: http://www.classtools.net/3D/.
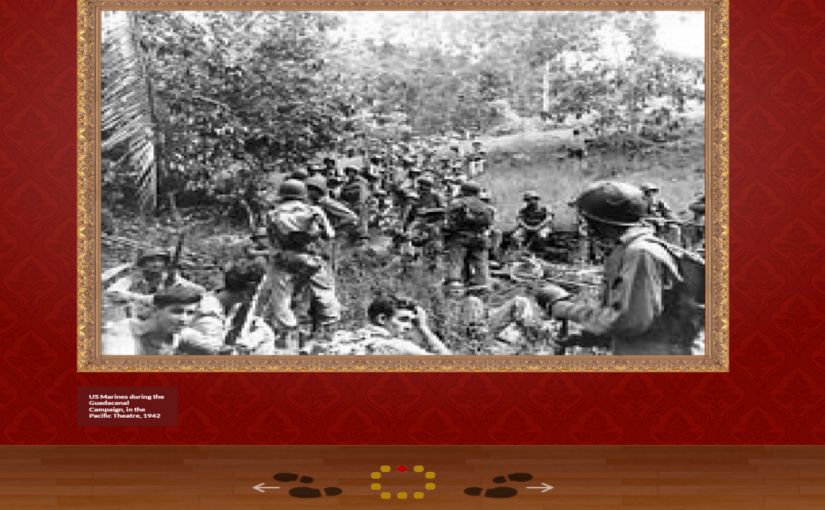
Our students had studied the dropping of the atomic bombs on Hiroshima and Nagasaki. We then presented them with a wide variety of images and the provenance (background) of each of these. In small groups the students took on the role of different museums: one in Japan, one in Great Britain and two in the USA. Each of these museums had a different view and purpose. The students had to decide what interpretation their museum would want to present. To do this they considered the purpose of the museum and the audience they were appealing to. From this thinking they developed criteria for inclusion, that is, a list of things they were looking for in an image in order for it to be included in their gallery. The students then had to select ten images from the selection that would represent their museum’s view about the atomic bombs and please the audience they were targeting.
Once they had made their selection, the students posted the ten images onto 3D-Gallery. In the text box attached to each image they had to justify why it had been included by giving detailed reasons. They had to give their exhibition a name, to explain why that name had been chosen and the overall aim of the exhibition in the textbox near the title. More able students were challenged to consider the ordering of their gallery and to add an explanation of the thinking behind their choices. Galleries were then saved. Groups then read each others’ work and gave comments. Teacher feedback then followed. As part of the feedback we made sure that students understood how and why the different purposes and audiences of the museums had shaped the creation of the galleries. (A learning activity using 3D-Gallery on the topic of the atomic bomb can be found in the Historiana Learning section.)
A similar project could be done with many other topics. Why not try finding images to demonstrate the range and depth of Weimar culture? Some groups of students could then write textbooks as information boards in a gallery being sponsored by Bauhaus, or do the same as if the exhibition was sponsored by the Nazis, or do the same as if a gallery in our own times was putting on an exhibition of those times.
It is possible to add in weblinks, including to film clips, to the pages in the gallery and this could add another dimension. Students (or the teacher) could create summaries of the key information about images and then give links for further research. These could be created for students to use as revision resources before exams. Different student groups could make 3D-galleries on key topics and then the links could be shared around the class for everyone to use.
These are just some of the ideas we have had. We hope you find them useful and please do share the results of your work with 3D-generator.
What do I need to be aware of when using the tool?
- A gallery consists of ten images and you can write text to accompany each one.
- The navigation between images is by arrow keys at the bottom of the screen.
- In the bottom left hand corner you will find the place where you name your gallery. This then leads you to the box where you can give the overall gallery description.
- Every gallery has to contain ten pictures. The template of the tool has ten pictures already inserted in position. If you do not replace each of these they will stay in the gallery.
- When a gallery is completely finished, then it is saved in the bottom right hand corner. You put in a password, click ‘save’ and need to make a note of the new URL so that you can find it later.
- There is a very useful helpdesk as part of the site.
This blog was developed by Jenny Baldwin and Naomi Bloxham, with the help of Helen Snelson, using a digital tool developed by Russell Tarr.